 EN
EN


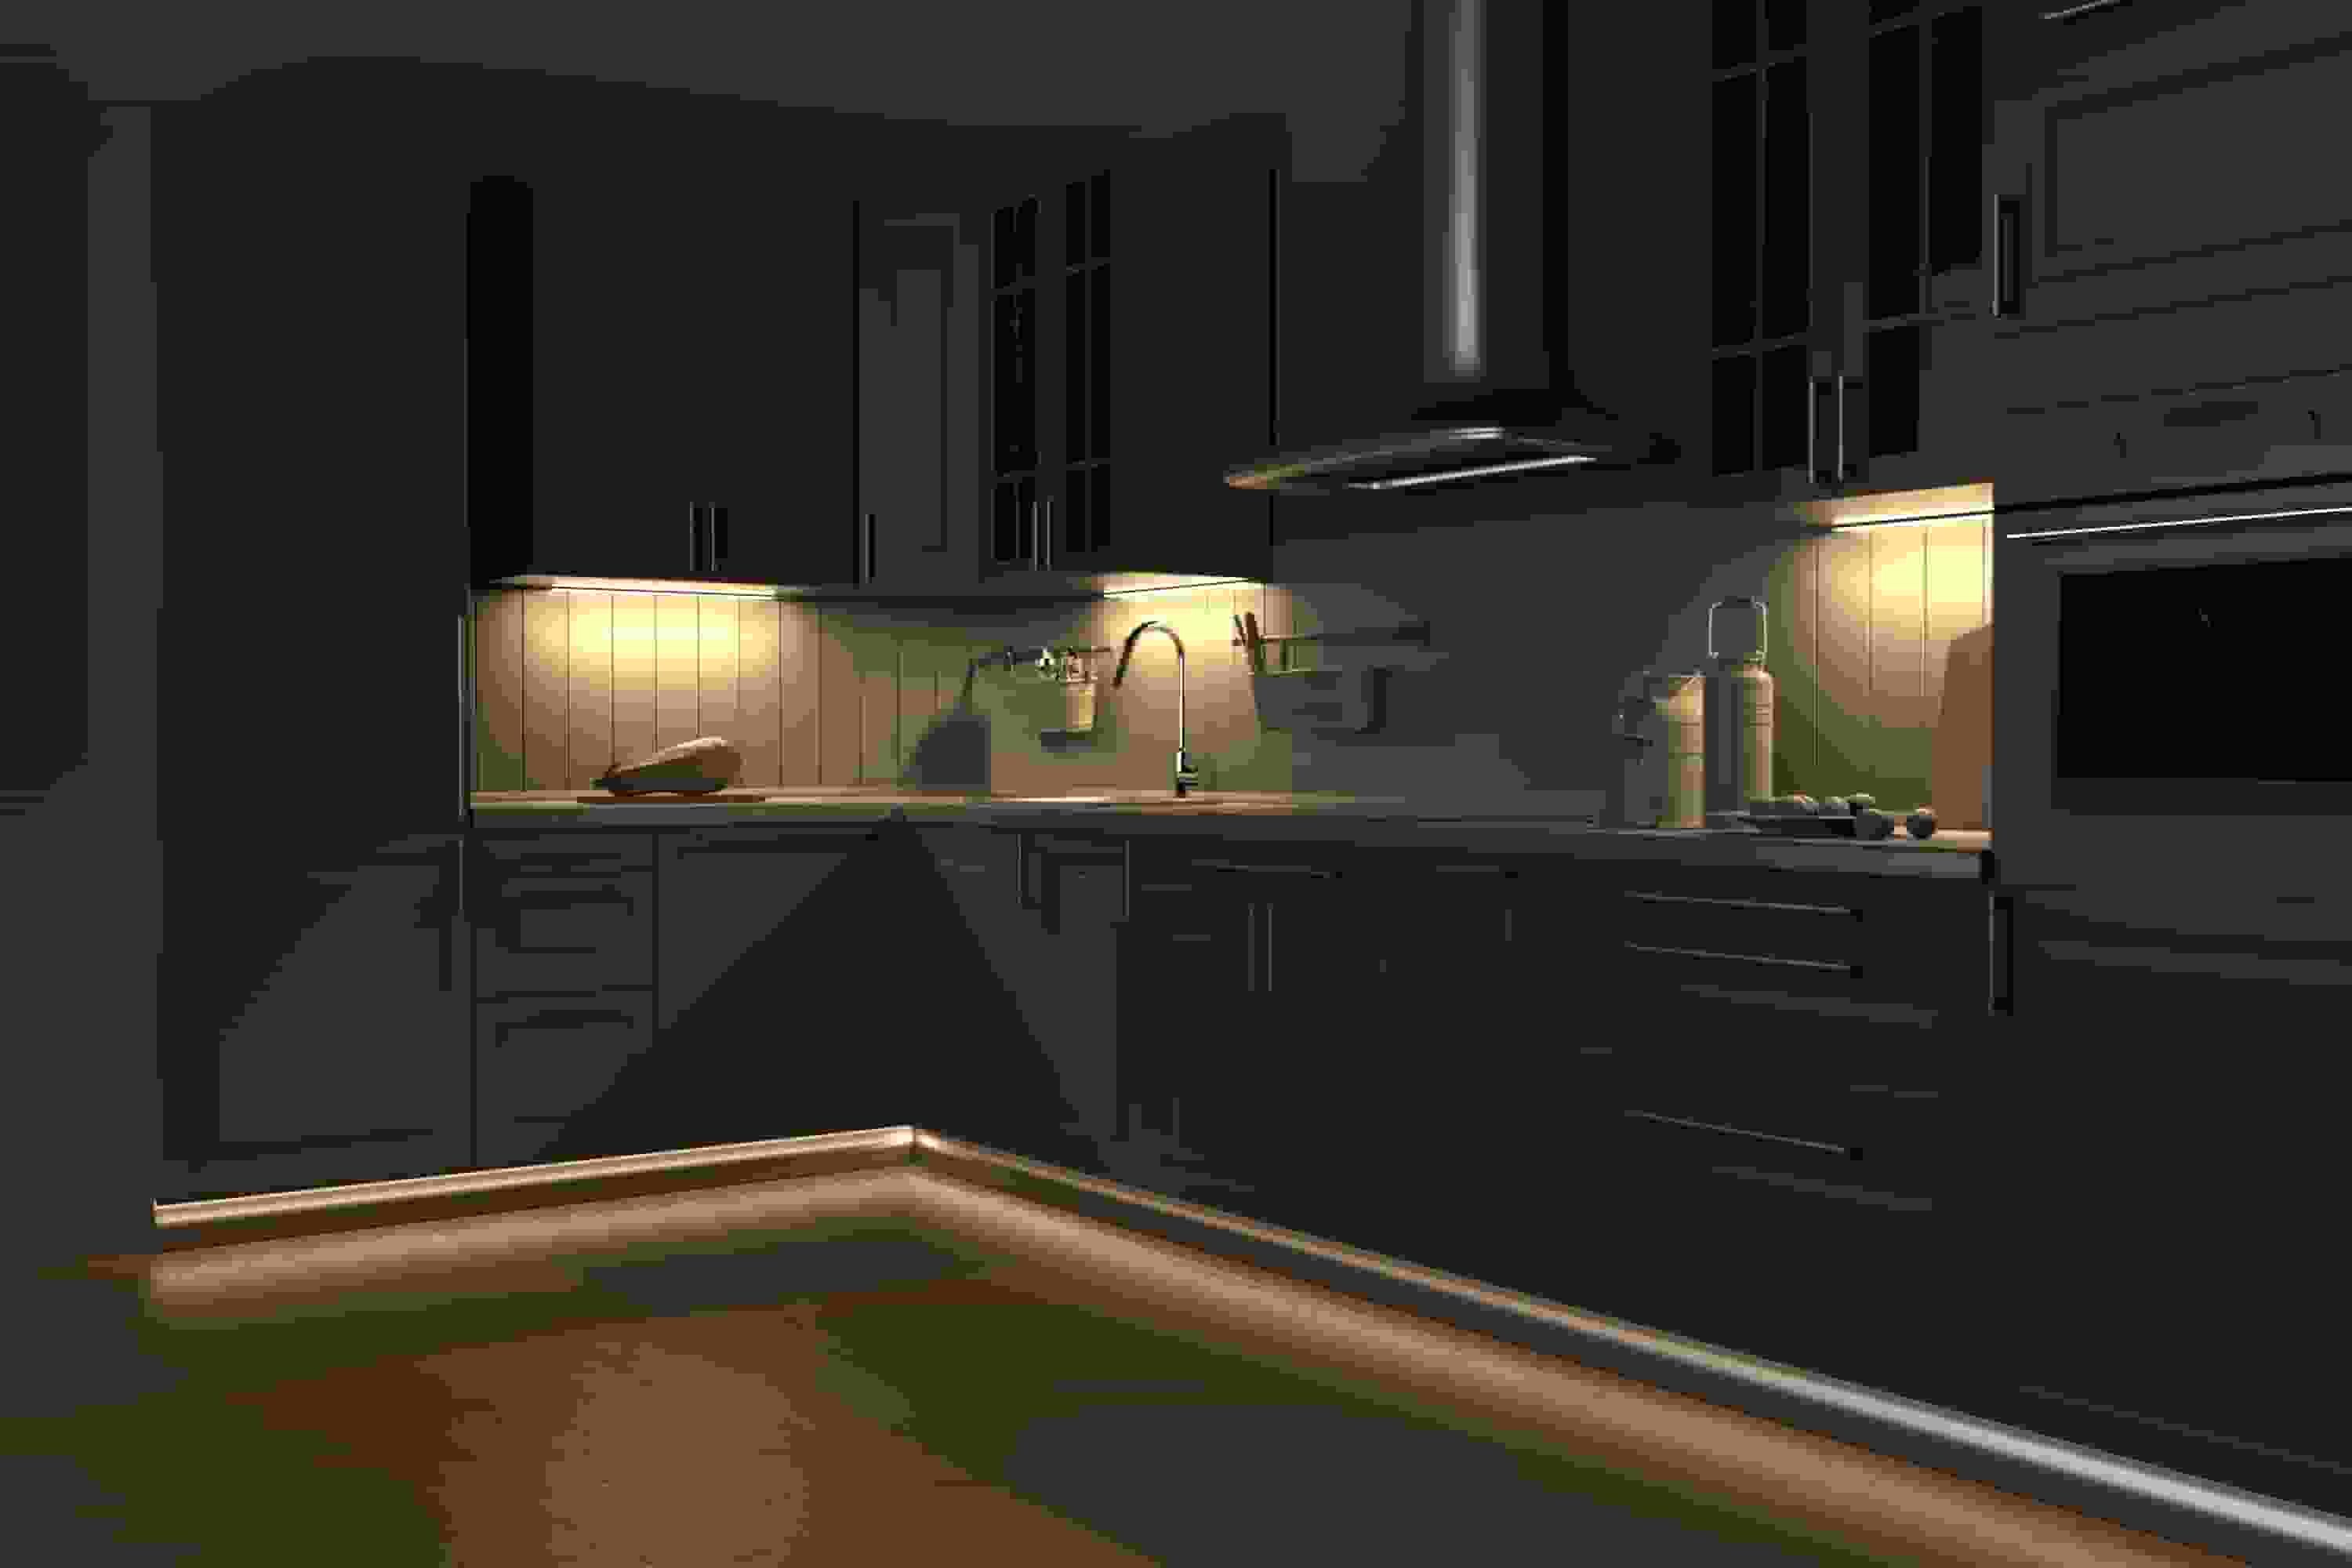
Installing a led strip light is one of the most accessible and rewarding upgrades you can make to any space, whether you are outfitting a commercial warehouse, a retail display, or a residential kitchen. The process is straightforward when you understand the key steps, the right materials, and the common pitfalls that cause installations to fail prematurely. A properly installed led strip light delivers consistent illumination, long service life, and a clean professional finish that reflects well on the environment it serves.
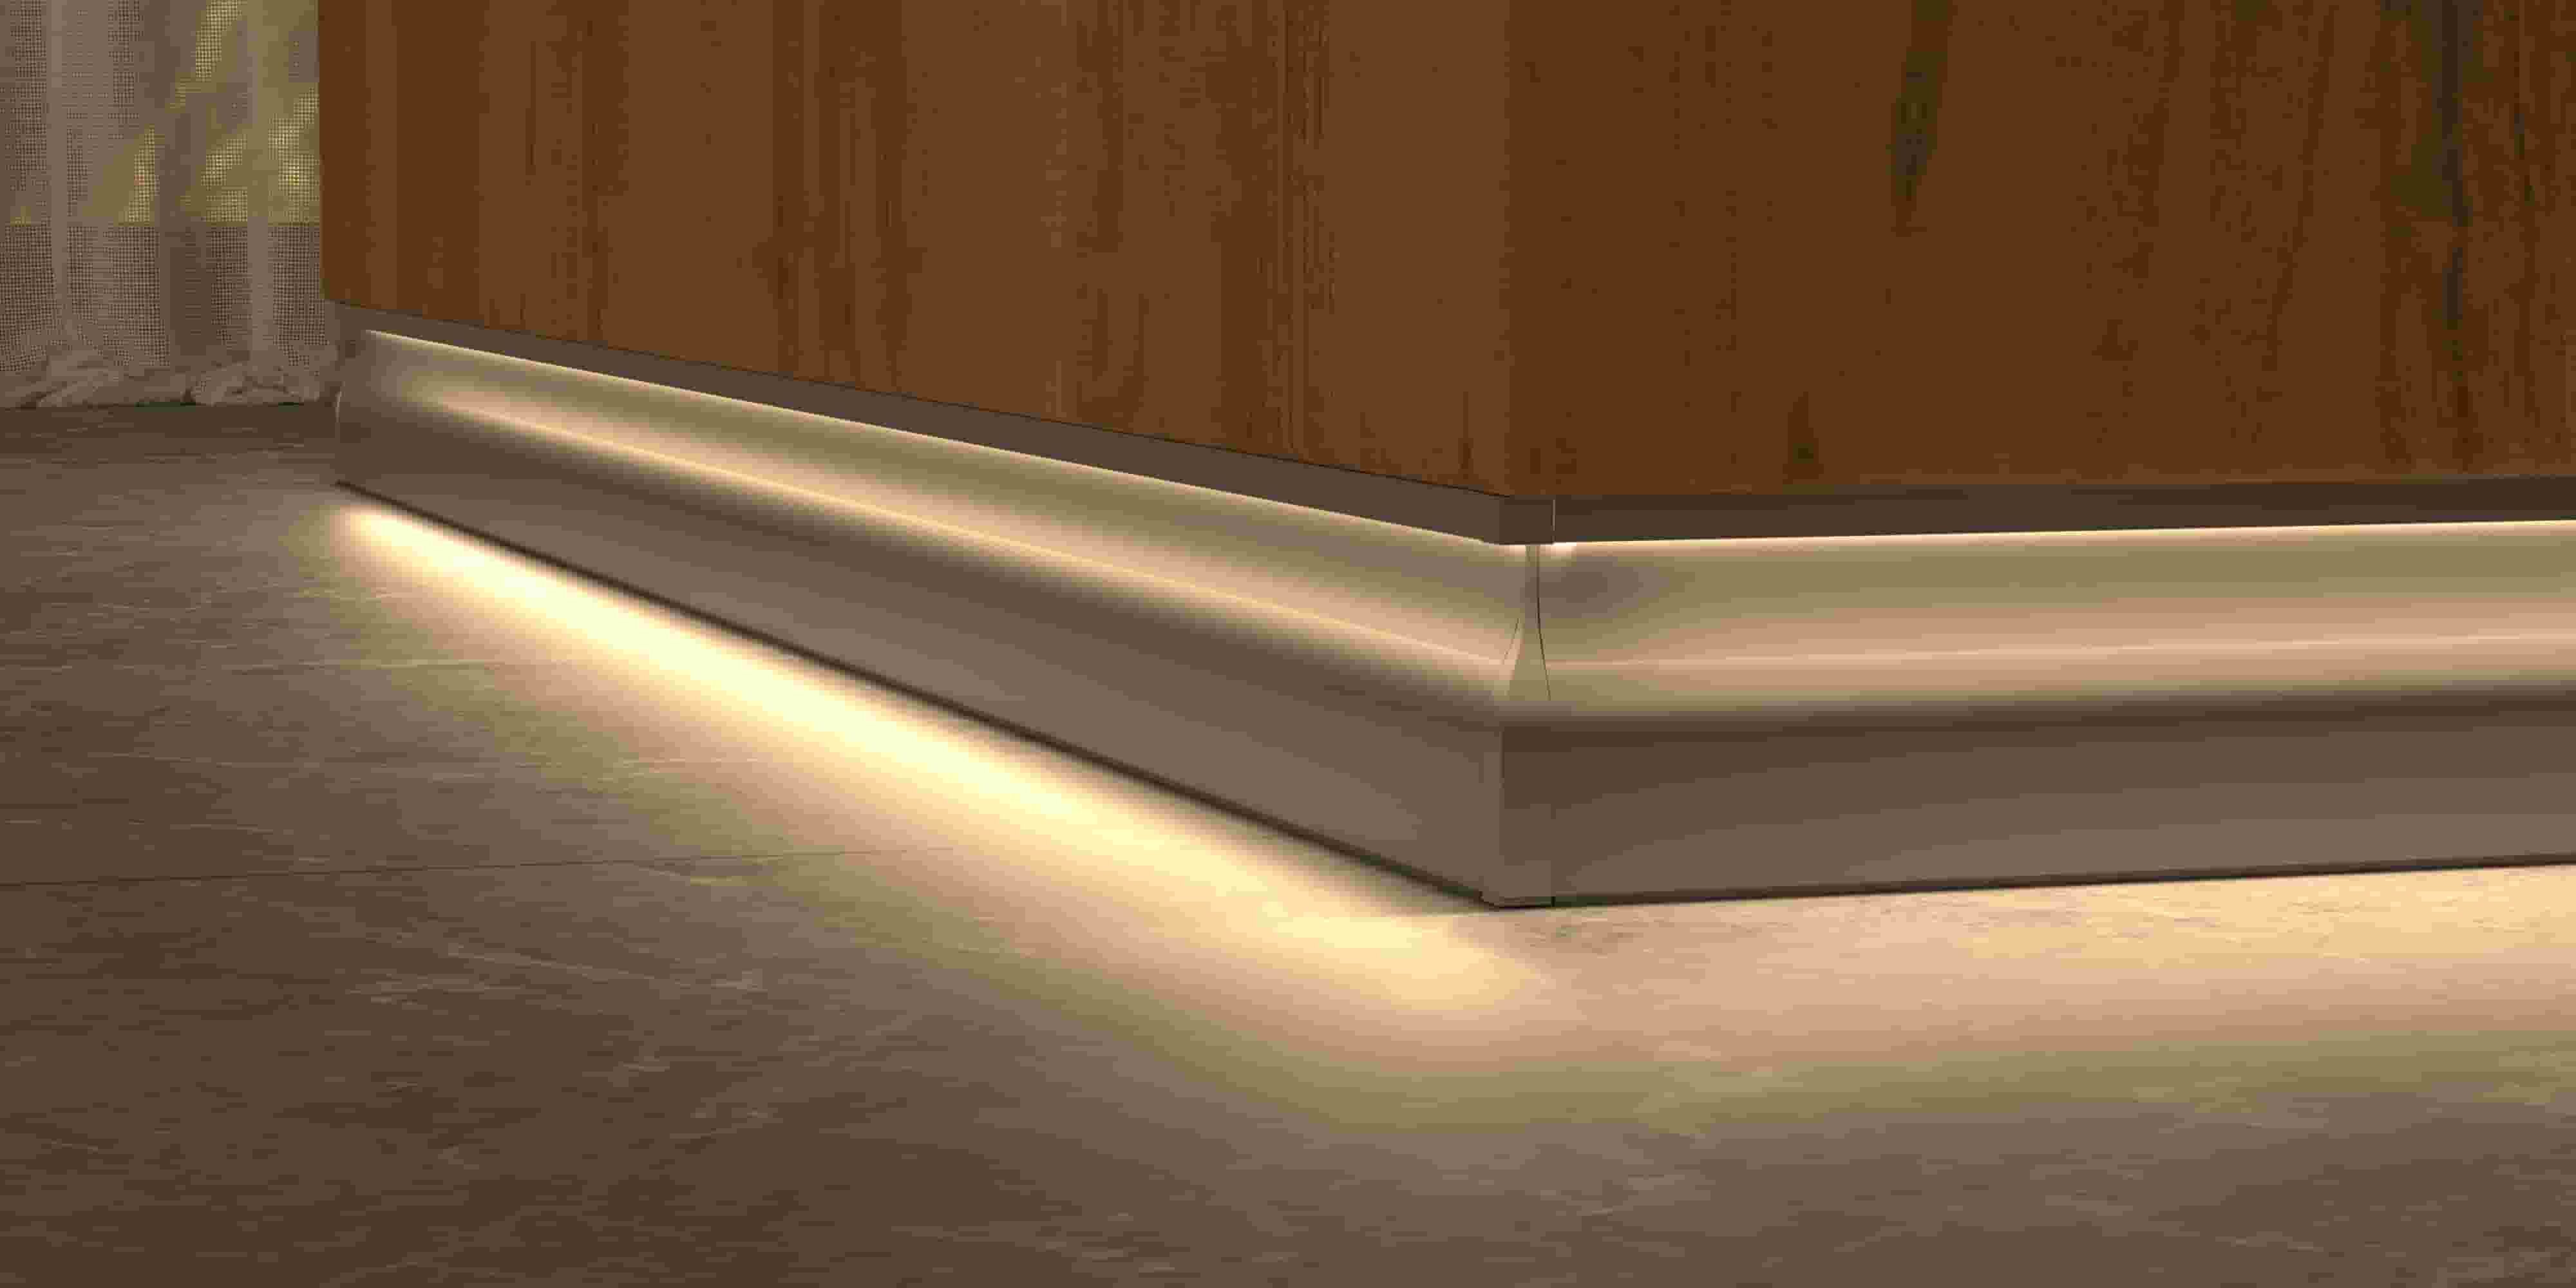
This guide walks you through the complete installation process for a led strip light, from planning and surface preparation all the way through wiring, mounting, and final testing. Whether you are a facilities manager handling a large-scale rollout or a business owner doing a single installation, following these steps will help you achieve a result that is both functional and durable. The led strip light you choose and how you install it will directly determine the quality and longevity of your lighting outcome.
Planning Your LED Strip Light Installation
Measuring the Installation Area
Before purchasing or cutting any led strip light, you need to measure the full length of the area you intend to illuminate. Use a tape measure to record the total linear footage, and account for any corners, recesses, or gaps where the strip will need to bend or be bridged with connectors. Accurate measurements prevent waste and ensure you order the correct quantity of led strip light material from the start.
It is also important to identify where your power source will be located relative to the installation area. The distance between the driver or transformer and the start of the led strip light run affects voltage drop, which can cause uneven brightness if not properly managed. For longer runs, plan for mid-point power injection or select a led strip light rated for higher voltage to maintain consistent output across the entire length.
Take note of any obstacles such as brackets, shelving supports, or structural elements that may interrupt a clean run. Planning around these in advance saves significant rework time during the actual installation phase and ensures the finished led strip light layout looks intentional and professional.
Selecting the Right LED Strip Light for the Application
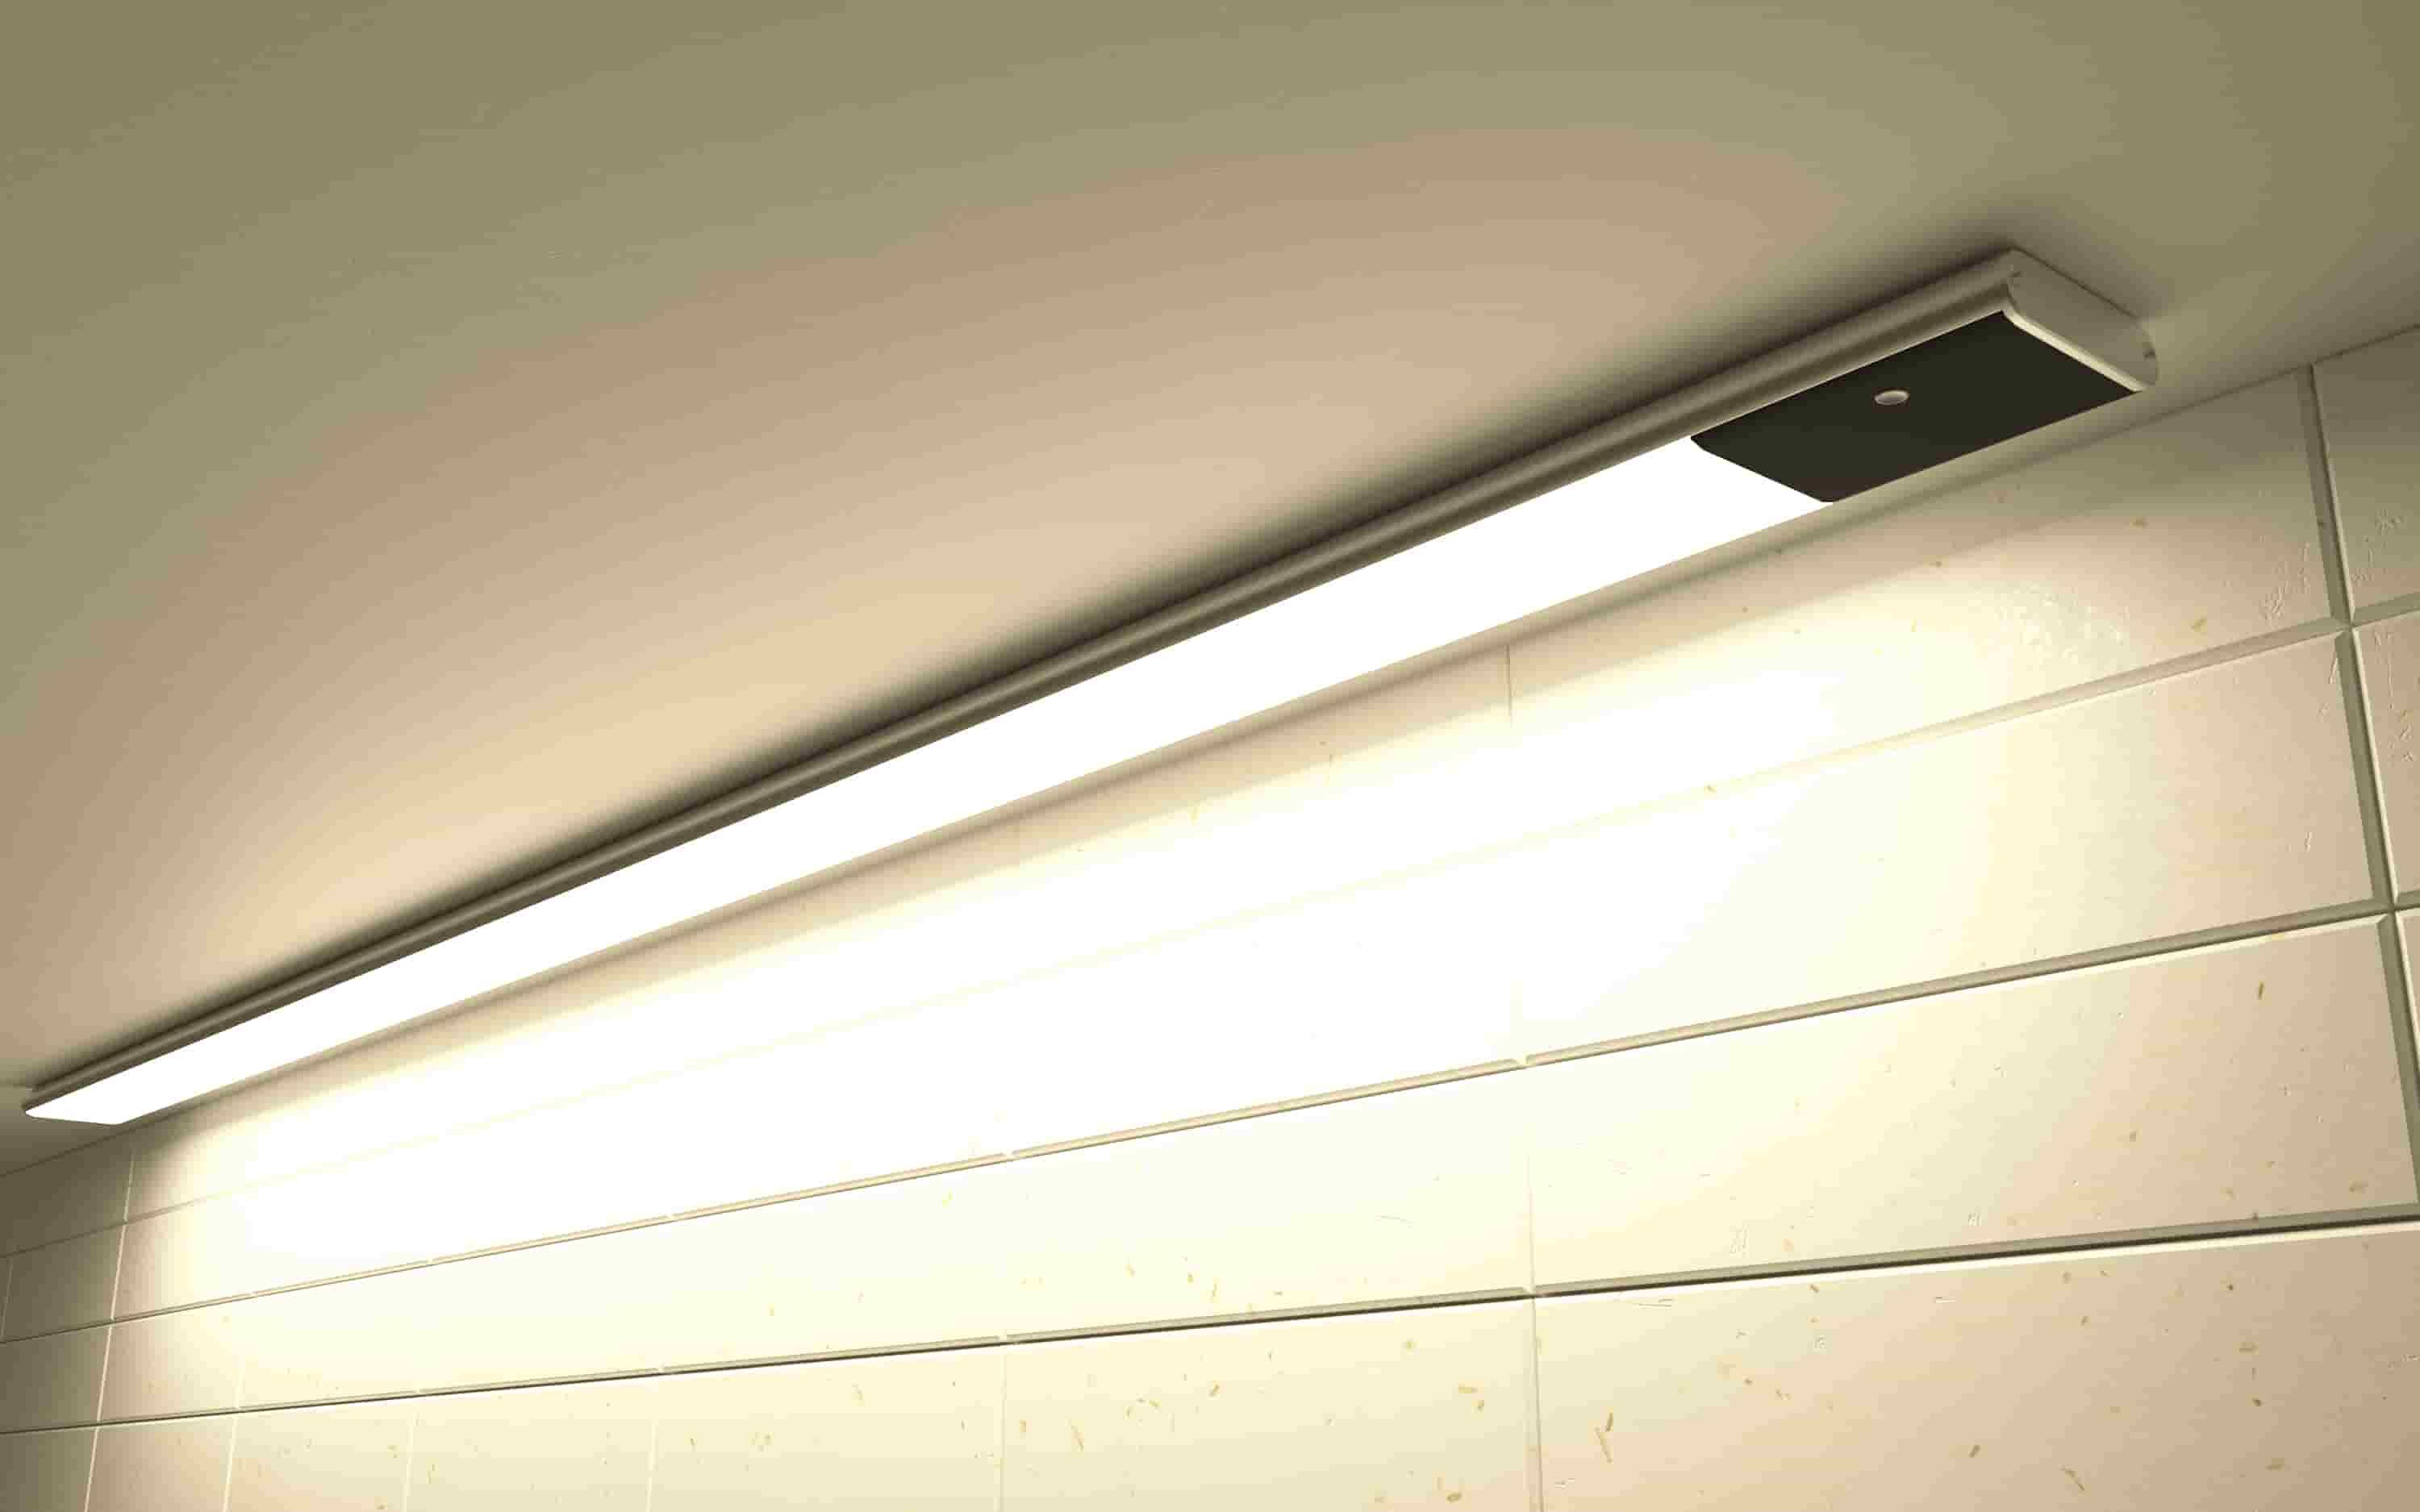
Not every led strip light is suited to every environment. For industrial or commercial shelving applications, you want a unit with a robust housing, an appropriate IP rating for the ambient conditions, and a diffuser that spreads light evenly across the illuminated surface. A led strip light with an inclined or angled diffuser is particularly effective in shelving and display contexts because it directs light precisely where it is needed rather than scattering it broadly.
Color temperature is another critical selection factor. Warehouses and storage facilities typically benefit from a cooler white led strip light in the 5000K to 6500K range, which improves visibility and reduces eye strain during long working hours. Retail and display environments may prefer a warmer tone to enhance product appearance. Confirm the lumen output of the led strip light matches the required illuminance level for the specific task area.
Check the mounting mechanism of the led strip light before committing to a product. Quick-insert or tool-free mounting systems significantly reduce installation time in large-scale deployments and make future maintenance far simpler. Confirm compatibility with your existing shelving or surface profile before placing your order.
Preparing the Surface for Installation
Cleaning and Priming the Mounting Surface
Surface preparation is one of the most overlooked steps in a led strip light installation, yet it is one of the most important. Any dust, grease, or moisture on the mounting surface will compromise the adhesive bond and cause the led strip light to detach over time. Use isopropyl alcohol on a clean cloth to wipe down the entire mounting area and allow it to dry completely before proceeding.
For metal shelving or powder-coated surfaces, check whether the existing finish is compatible with the adhesive backing on your led strip light. Some coatings are too smooth or too textured for standard adhesive to grip reliably. In these cases, use a dedicated mounting channel or mechanical clip system to secure the led strip light independently of the adhesive layer.
If you are installing a led strip light in a high-humidity environment such as a cold storage facility or a food processing area, consider applying a primer or using a mounting channel with a sealed back. This protects both the adhesive and the led strip light electronics from moisture ingress that could shorten the product's operational life.
Marking the Layout and Cutting Points
Once the surface is clean, use a pencil or removable marker to mark the exact path the led strip light will follow. Mark the start point, any corner transitions, and the end point clearly. This visual guide prevents misalignment during the actual mounting process and helps you identify in advance where cuts will need to be made.
A led strip light can only be cut at designated cut points, which are typically marked with a scissor icon or a printed line on the strip itself. Cutting outside these points will damage the circuit and render a section of the led strip light non-functional. Measure twice and cut once — this principle is especially important when working with a led strip light that has a fixed pitch between cut points.
If your layout requires a corner turn, decide in advance whether you will use a flexible connector, a solder joint, or a corner clip. Each method has different implications for the finished appearance and the long-term reliability of the led strip light connection at that point. Connectors are faster but add a small resistance; soldering is more permanent but requires skill and the right tools.
Wiring and Connecting the LED Strip Light
Understanding the Power Requirements
Every led strip light has a specified wattage per meter and an operating voltage, most commonly 12V or 24V DC. Before wiring, calculate the total wattage of your installation by multiplying the wattage per meter by the total length of led strip light you are installing. Add a 20% safety margin to this figure when selecting your driver or power supply to avoid running the unit at its maximum rated load continuously.
Match the output voltage of your driver precisely to the rated voltage of the led strip light. Using a 12V driver on a 24V led strip light will result in dim or non-functional output. Using a 24V driver on a 12V led strip light will likely destroy the strip immediately. Always verify the voltage specification on the product label before making any connections.
For installations covering more than five meters of continuous led strip light, consider using a 24V system rather than 12V. Higher voltage systems experience less voltage drop over long runs, which means the led strip light at the far end of the run will maintain brightness levels comparable to the section nearest the power supply.
Making the Electrical Connections
Connect the positive and negative terminals of the led strip light to the corresponding output terminals of the driver. Most led strip light products use a two-wire connection with clearly marked polarity. Reversing the polarity will prevent the strip from illuminating and may cause damage, so double-check the markings before applying power.
Use appropriately rated wire gauges for the current load of your led strip light installation. Undersized wire creates resistance, generates heat, and can become a fire hazard over time. For most residential and light commercial led strip light installations, 18 AWG wire is sufficient, but larger commercial runs may require 16 AWG or heavier depending on the total current draw.
Secure all connections with proper terminal blocks, wire nuts, or heat-shrink solder connectors. Loose connections are a leading cause of intermittent faults and premature failure in led strip light systems. Once all connections are made, do a quick continuity check with a multimeter before mounting the strip permanently to confirm the circuit is complete and correct.
Mounting and Securing the LED Strip Light
Applying the Strip to the Surface
With the surface prepared and the wiring confirmed, you are ready to mount the led strip light. If your strip uses a peel-and-stick adhesive backing, remove the protective liner gradually as you press the strip into position rather than removing it all at once. This gives you better control and prevents the strip from folding or misaligning before it contacts the surface.
Apply firm, even pressure along the entire length of the led strip light as you lay it down. Pay particular attention to the ends and any sections near cut points, as these areas are most prone to lifting. For heavy-duty applications or surfaces where adhesive alone is insufficient, supplement with mounting clips or a dedicated aluminum channel that mechanically retains the led strip light in place.
If you are using a quick-insert mounting system, follow the manufacturer's instructions for snapping the led strip light into the channel or bracket. These systems are designed for speed and repeatability, making them ideal for shelving installations where dozens of identical led strip light units need to be installed consistently across a large facility.
Managing Cables and Finishing the Installation
Route the power cables neatly alongside the led strip light run using cable clips or adhesive cable management channels. Exposed or dangling wires not only look unprofessional but also create a risk of accidental disconnection or damage. In commercial environments, cable management is often a compliance requirement as well as a best practice.
Where the led strip light terminates, cap the exposed end with an end cap or a small piece of heat-shrink tubing to protect the circuit from dust and moisture. This small step significantly extends the service life of the led strip light by preventing oxidation of the exposed copper pads at the cut end.
Once everything is mounted and cables are managed, do a final visual inspection of the entire led strip light run before powering up. Check for any sections that appear lifted, any connectors that look loose, and any areas where the cable routing might create a pinch point. Addressing these issues before the first power-on is far easier than troubleshooting them after the fact.
Testing and Troubleshooting Your LED Strip Light
Powering On and Verifying Output
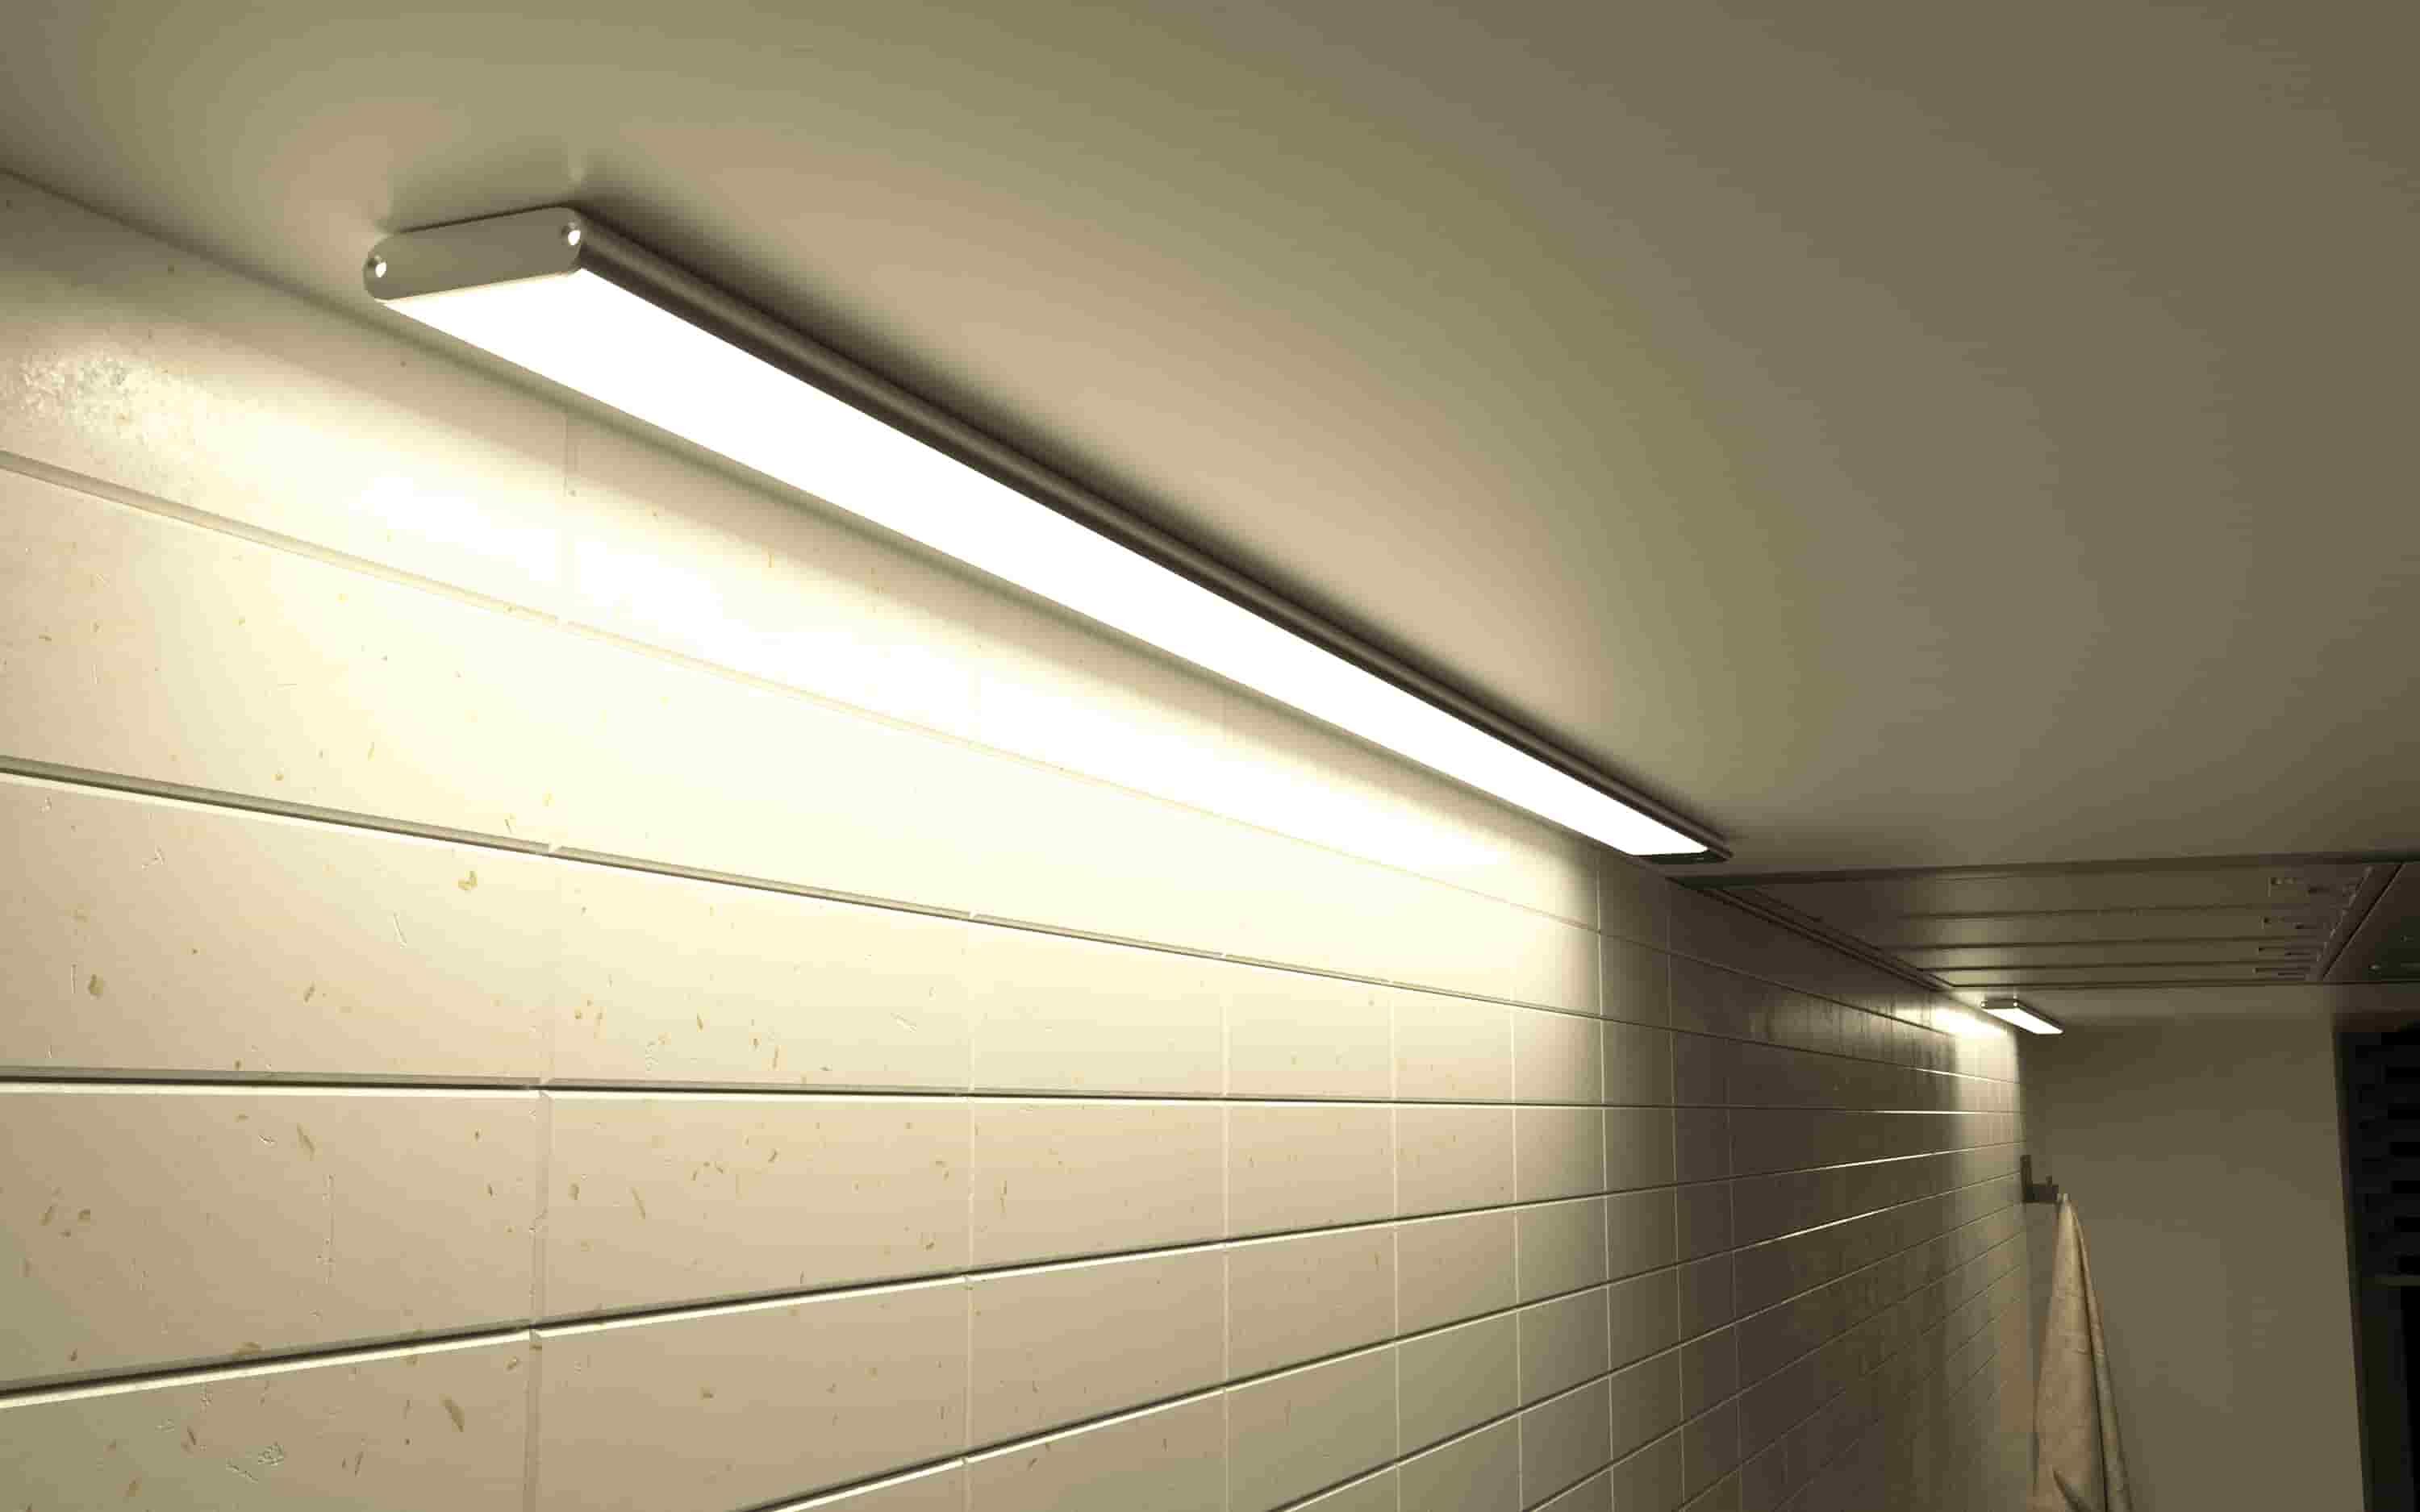
Apply power to the installation and observe the led strip light along its full length. The output should be uniform in brightness and color temperature from one end to the other. Any sections that appear dimmer than the rest may indicate a voltage drop issue, a poor connection, or a damaged segment of the led strip light that needs to be replaced.
If the led strip light does not illuminate at all, check the driver output voltage with a multimeter first. If the driver is outputting the correct voltage, check the polarity of the connection at the strip. If polarity is correct, inspect each connector along the run for a secure fit. Systematic troubleshooting from the power source outward will identify the fault point quickly.
Flickering in a led strip light is almost always caused by a loose connection or an undersized driver that cannot maintain stable output under load. Re-seat all connectors and verify that the driver's rated wattage exceeds the total load of the led strip light installation by the recommended safety margin.
Long-Term Maintenance Considerations
A well-installed led strip light requires minimal maintenance, but periodic inspection is worthwhile in commercial and industrial environments. Check adhesive bonds annually, especially in areas subject to temperature cycling or vibration. Re-secure any sections that show signs of lifting before they detach completely and create a hazard or an outage.
Clean the diffuser surface of the led strip light periodically to remove dust accumulation, which can reduce light output over time. Use a dry or slightly damp cloth and avoid abrasive cleaners that could scratch the diffuser material. Keeping the diffuser clean ensures the led strip light continues to deliver its rated lumen output throughout its service life.
If a section of the led strip light fails after extended use, most modular systems allow you to replace only the affected segment rather than the entire run. This is a significant operational advantage in large installations where replacing the full led strip light system would be costly and disruptive.
FAQ
Can I cut a led strip light to a custom length?
Yes, most led strip light products can be cut to a custom length, but only at the designated cut marks printed on the strip. Cutting between these marks will break the circuit and render the affected section non-functional. Always measure carefully and cut only at the marked points to maintain a working led strip light after trimming.
What causes uneven brightness in a led strip light installation?
Uneven brightness in a led strip light run is most commonly caused by voltage drop, which occurs when the wire gauge is too small or the run is too long for the operating voltage. Switching to a 24V led strip light system, using heavier gauge wire, or injecting power at multiple points along the run are the most effective solutions to this problem.
Do I need a special driver for every led strip light installation?
Yes, a led strip light requires a constant-voltage DC driver matched to its rated voltage, typically 12V or 24V. Standard AC mains power cannot be connected directly to a led strip light without a driver. The driver must also be rated for at least 120% of the total wattage of the led strip light installation to ensure stable, reliable operation.
How long does a properly installed led strip light last?
A quality led strip light installed correctly with proper thermal management, a correctly rated driver, and secure connections can last 30,000 to 50,000 hours or more. Premature failure is almost always the result of installation errors such as overloading the driver, poor adhesion causing the strip to overheat, or moisture ingress at unprotected cut ends rather than a defect in the led strip light itself.