

Modern industrial automation relies heavily on sophisticated sensing technologies, with radar sensor systems leading the charge in precision detection and monitoring applications. These advanced devices have revolutionized how industries approach object detection, distance measurement, and motion sensing across diverse operational environments. Understanding proper installation techniques for radar sensor equipment ensures optimal performance and longevity in demanding industrial settings.
Understanding Radar Sensor Technology
Fundamental Operating Principles
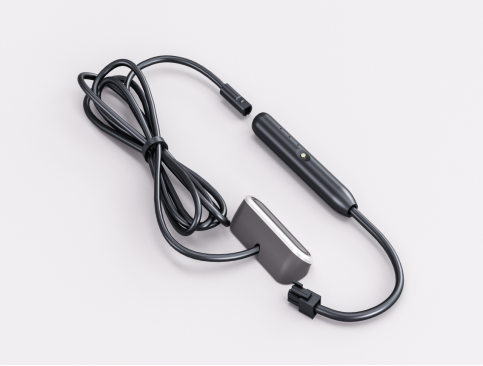
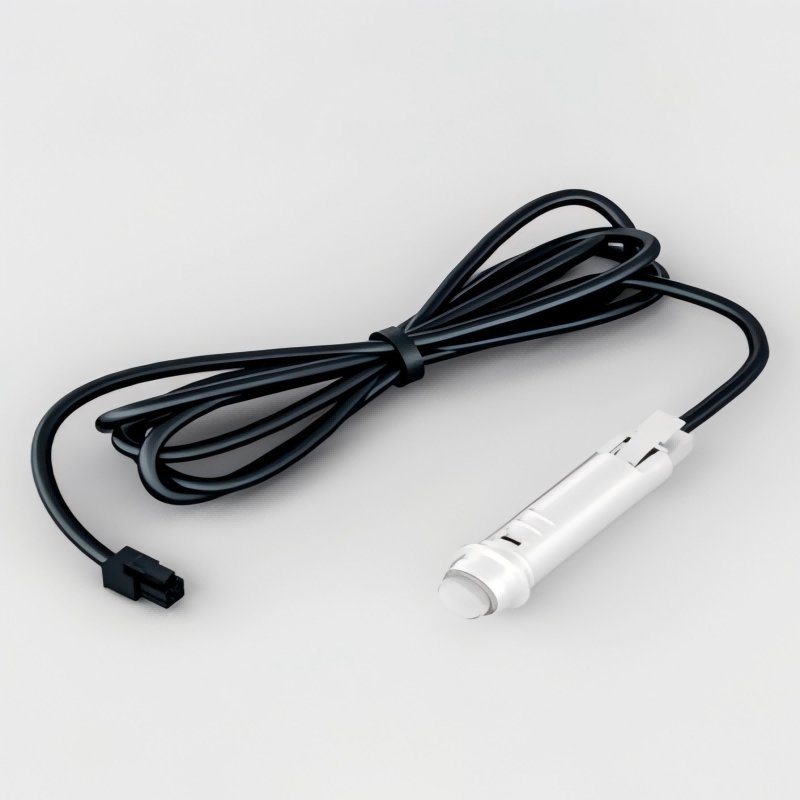
Radar sensor technology operates on electromagnetic wave transmission and reflection principles, utilizing radio frequency signals to detect objects and measure distances with exceptional accuracy. The radar sensor emits continuous or pulsed electromagnetic waves that bounce off target objects and return to the receiving antenna. This time-of-flight measurement enables precise distance calculations and object detection capabilities essential for industrial automation systems.
The frequency range of radar sensor devices typically spans from 1 GHz to 100 GHz, with higher frequencies providing better resolution but reduced penetration capabilities. Industrial applications often utilize 24 GHz or 77 GHz radar sensor units due to their optimal balance between detection accuracy and environmental penetration. These frequencies offer excellent performance in challenging conditions including dust, fog, rain, and temperature variations that would compromise optical sensing systems.
Types of Industrial Radar Sensors
Continuous Wave Frequency Modulated radar sensor systems provide real-time distance measurements by analyzing frequency shifts in reflected signals. These devices excel in applications requiring constant monitoring of moving objects or liquid levels in industrial tanks and vessels. The radar sensor technology enables non-contact measurement with millimeter-level precision across distances ranging from centimeters to several hundred meters.
Pulsed radar sensor configurations transmit short bursts of electromagnetic energy and measure the time required for signal return. This approach offers superior range capabilities and enhanced signal processing options for complex industrial environments. Advanced radar sensor models incorporate digital signal processing algorithms to filter noise and improve target discrimination in cluttered environments with multiple reflective surfaces.
Pre-Installation Planning and Assessment
Site Survey and Environmental Considerations
Comprehensive site evaluation forms the foundation of successful radar sensor installation projects, requiring detailed analysis of environmental conditions, potential interference sources, and operational requirements. The installation area must accommodate the radar sensor beam pattern while minimizing obstructions that could create false readings or signal attenuation. Factors including ambient temperature ranges, humidity levels, and exposure to corrosive substances directly impact sensor selection and mounting hardware requirements.
Electromagnetic interference assessment prevents installation complications that could compromise radar sensor performance in industrial environments. Nearby radio transmitters, welding equipment, motor drives, and switching power supplies generate electromagnetic noise that may interfere with sensitive radar sensor circuits. Professional installations require spectrum analysis to identify potential interference sources and implement appropriate shielding or frequency coordination measures.
Power Supply and Infrastructure Requirements
Electrical infrastructure planning ensures reliable radar sensor operation through proper power supply design and grounding systems. Most industrial radar sensor units require stable DC power sources ranging from 12V to 24V with current consumption varying based on transmission power and processing capabilities. Installation specifications must account for cable voltage drop over extended runs and provide adequate power supply capacity for multiple sensor installations.
Grounding and surge protection systems protect expensive radar sensor equipment from electrical damage caused by lightning strikes, power surges, and electromagnetic interference. Proper installation practices include dedicated equipment grounds, isolated signal cables, and surge suppression devices rated for the specific voltage and current requirements of the radar sensor system. These protective measures significantly extend equipment lifespan and reduce maintenance costs in industrial applications.
Mechanical Mounting and Positioning
Optimal Mounting Locations
Strategic positioning maximizes radar sensor effectiveness while ensuring long-term mechanical stability in industrial environments subject to vibration, thermal cycling, and weather exposure. The radar sensor mounting location must provide unobstructed line-of-sight to target areas while maintaining appropriate standoff distances for optimal beam coverage. Consideration of beam angle characteristics prevents dead zones and ensures complete area coverage for security and automation applications.
Vibration isolation becomes critical when installing radar sensor equipment on machinery, conveyor systems, or structures subject to mechanical oscillations. Specialized mounting brackets with vibration dampening materials prevent mechanical resonance that could affect sensor accuracy or cause premature component failure. The radar sensor housing must remain stable during normal operations while accommodating thermal expansion and contraction cycles without stress concentration.
Alignment and Calibration Procedures
Precise radar sensor alignment ensures accurate target detection and measurement across the intended coverage area. Installation procedures typically involve initial mechanical positioning followed by fine adjustment using built-in diagnostic modes or external alignment tools. Many advanced radar sensor models include automatic calibration routines that optimize performance parameters based on environmental conditions and target characteristics detected during commissioning.
Angular adjustment capabilities allow radar sensor optimization for specific application requirements including narrow-beam precision measurements or wide-area surveillance coverage. Professional installation techniques utilize laser alignment tools and precision measuring equipment to achieve specified pointing accuracy tolerances. Documentation of final alignment settings facilitates future maintenance and troubleshooting activities while ensuring consistent performance over the equipment lifecycle.
Electrical Connection and Configuration
Wiring Standards and Best Practices
Professional radar sensor installations follow established electrical codes and industry standards to ensure safe and reliable operation in industrial environments. Power and signal cables require appropriate ratings for voltage, current, temperature, and environmental exposure conditions encountered in the installation location. Shielded twisted-pair cables minimize electromagnetic interference while maintaining signal integrity over extended cable runs common in large industrial facilities.
Cable routing practices prevent mechanical damage and electromagnetic interference that could compromise radar sensor performance. Separation requirements between power and signal cables reduce noise coupling while proper cable support prevents stress on connector terminals. Installation documentation must include cable identification, routing paths, and connection diagrams to facilitate future maintenance and system modifications.
Network Integration and Communication Protocols
Modern radar sensor systems integrate seamlessly with industrial networks through standard communication protocols including Ethernet, Modbus, and Profibus interfaces. Network configuration requires proper IP addressing, subnet masks, and gateway settings for Ethernet-connected radar sensor devices. Protocol selection depends on existing automation infrastructure and real-time data requirements for the specific application.
Data acquisition systems must accommodate the radar sensor output format and update rates to ensure proper integration with supervisory control systems. Configuration parameters including measurement units, output scaling, and alarm thresholds require careful setup to match application requirements. Testing and validation procedures verify communication reliability and data accuracy before placing the radar sensor system into operational service.
Commissioning and Performance Testing
Initial System Verification
Comprehensive commissioning procedures validate radar sensor installation quality and verify compliance with design specifications and performance requirements. Initial testing begins with power supply verification followed by communication interface checks and basic functionality tests. The radar sensor must demonstrate proper operation across the full measurement range under various environmental conditions expected during normal operations.
Calibration verification ensures radar sensor accuracy meets application requirements through comparison with reference measurements or known target positions. Professional commissioning includes documentation of all test results, configuration settings, and any deviations from original specifications. This baseline documentation becomes essential for future troubleshooting and performance monitoring activities.
Environmental Stress Testing
Environmental testing validates radar sensor performance under extreme conditions including temperature variations, humidity exposure, and electromagnetic interference scenarios. Thermal cycling tests verify stable operation across the specified temperature range while monitoring for drift in measurement accuracy or communication reliability. These tests identify potential issues before the radar sensor enters full operational service.
Electromagnetic compatibility testing ensures the radar sensor operates correctly in the presence of nearby radio frequency sources and industrial equipment. This validation process includes immunity testing against common interference sources and emissions testing to verify compliance with regulatory requirements. Proper testing prevents operational problems and ensures long-term reliability in challenging industrial environments.
Maintenance and Troubleshooting Guidelines
Preventive Maintenance Schedules
Regular maintenance programs extend radar sensor lifespan while maintaining optimal performance throughout the equipment lifecycle. Scheduled inspections include visual examination of mounting hardware, cable connections, and environmental sealing integrity. Cleaning procedures remove accumulation of dust, moisture, or corrosive deposits that could affect radar sensor operation or cause premature component deterioration.
Performance monitoring tracks radar sensor accuracy and reliability trends to identify developing problems before they cause system failures. Calibration verification at scheduled intervals ensures continued measurement accuracy while documenting any drift or degradation in performance parameters. Proactive maintenance significantly reduces unplanned downtime and operational disruptions in critical industrial applications.
Common Installation Issues and Solutions
Installation problems frequently stem from inadequate site preparation, improper mounting techniques, or insufficient environmental protection measures. Poor radar sensor performance often results from electromagnetic interference, mechanical vibration, or thermal stress that could be prevented through proper installation practices. Systematic troubleshooting approaches identify root causes and implement corrective measures to restore optimal operation.
Signal quality issues may indicate problems with cable routing, connector integrity, or power supply stability affecting radar sensor performance. Diagnostic procedures include signal level measurements, communication testing, and environmental monitoring to isolate the source of operational problems. Professional repair techniques restore radar sensor functionality while implementing improvements to prevent recurrence of similar issues.
FAQ
What factors determine optimal radar sensor mounting height?
Radar sensor mounting height depends on beam angle characteristics, target detection requirements, and environmental obstacles that could interfere with signal propagation. Higher mounting positions typically provide better area coverage but may reduce detection sensitivity for small targets. The optimal height balances coverage area with detection accuracy while maintaining clear line-of-sight to intended targets and avoiding interference from nearby structures or equipment.
How do environmental conditions affect radar sensor performance?
Environmental factors including temperature, humidity, precipitation, and atmospheric pressure can influence radar sensor accuracy and reliability. Most industrial radar sensor units incorporate environmental compensation algorithms to maintain stable performance across varying conditions. However, extreme weather conditions or rapid environmental changes may require additional protective measures or calibration adjustments to ensure continued accurate operation.
What safety precautions are necessary during radar sensor installation?
Radar sensor installation requires standard electrical safety practices including proper lockout/tagout procedures, personal protective equipment, and verification of de-energized circuits before beginning work. High-frequency radar sensor emissions generally operate at low power levels but installation personnel should follow manufacturer guidelines regarding exposure limits and safety distances. Additional safety considerations include fall protection for elevated installations and coordination with other trades working in the area.
How can interference issues be prevented during radar sensor installation?
Preventing interference requires careful site survey to identify potential electromagnetic sources and implement appropriate mitigation measures. Proper cable shielding, grounding practices, and physical separation from interference sources minimize signal degradation. Advanced radar sensor models include frequency agility features that automatically avoid interference by selecting optimal operating frequencies based on real-time spectrum analysis of the installation environment.